Monday, December 28, 2015

DIY Patterned and Optical Illusion Window Blocks


We totally adore our store bought window blocks, however we thought it would be cool to have patterned window blocks too! 

Several bloggers have made DIY window blocks using Jenga pieces and translucent plastic folders, however I feel that the Jenga pieces create window blocks that are way too thick. They seem like they are kind of a bit clunky and wide for little hands. It's a great idea to use the Jenga blocks, however the idea possibly needs some work. 

Citiblocs are way thinner than Jenga pieces, and create large window blocks. They work just as well as Jenga blocks. However, Citiblocs create a thinner window block. They are close in thickness to a store bought window block, where as the Jenga blocks are twice the thickness of a storebough wndow block

To make our patterned and optical illusion window blocks, we used some Citiblocks, the hot glue gun, a few patterned translucent scrapbook papers from Michaels, and some laminated cellophane sheets. I use the Hygloss brand cello Sheets and scotch brand laminator, We also used some Roylco optical illusion sheets we had on hand. You can also use the awesome color and shape overlays from Mr. Printable.  See below!  Links are under photos.

Directions for assemble of blocks.  Start by hot gluing 4 citiblocs together. Then cut your overlays to size and glue to the first 4 citiblocs. Then glue 4 more citiblocs on to the pattern overlays, matching to the size and shape of the first 4 citiblocs to make a completed window block.  You can lay the citiblocs flat or stand them up on their sides to glue them together. Standing them up on their sides does create a thicker block. The thicker blocks are slightly more stable than the thinner blocks, however they both will stand up. Be sure to only glue two parts together at once and line them up evenly.


Patterned Window Blocks
Dots, Stripes, and Stained Glass look.

*Note - The stained glass one was hand drawn with sharpie markers on overhead projector transparencies

Optical Illusion Window Blocks
Compared to store bought window blocks

Roylco Optical Illusion Sheets

Citiblocks
Mr. Printables Color and Shape Overlays

Cello Sheets  aka. Cellophane Paper


Wednesday, December 23, 2015

Exploring Crystal Prisms on the Light Table

We have found a few great bargains lately on some cool new editions to our light table collection. They are crystal prism paperweights. It is hard to come by such beautiful items for such a dirt cheap price! One of them has a little scratch on it, but is still wonderful! We had a lot of fun exploring them with light!

We used the crystal prism paperweights with color paddles and some plastic cocktail stirrers we had on hand.  Check out the amazing results!


Wednesday, December 16, 2015

Fun Easy DIY Light Table Bubble Monsters


Since we still had the hot glue gun warmed up from our Light table Bubble sculptures project today, we decided to get out some of our craft supplies and make some fun light table monsters! I think we will be making lots of these in the near future! This was a really fun and easy project.  For the arms and feet, we used some fancy plastic translucent craft paper with cute dot and striped prints on them. They were under $1 a page from Michaels, in their scrapbooking paper section.  For the eyes and hair we just used googly eyes and sofy colorful craft feathers. The nose and moth are just sharpie marker.

You could make these in so many ways with many different craft materials you have on hand! The possibilities are endless! This is a great project for any age, younger children may need help with the hot glue gun. We used a low temp hot glue gun. The balls are translucent ball pit balls called invisiballs.
Check out our monsters below!


Fun Easy DIY Light Table Bubble Sculptures


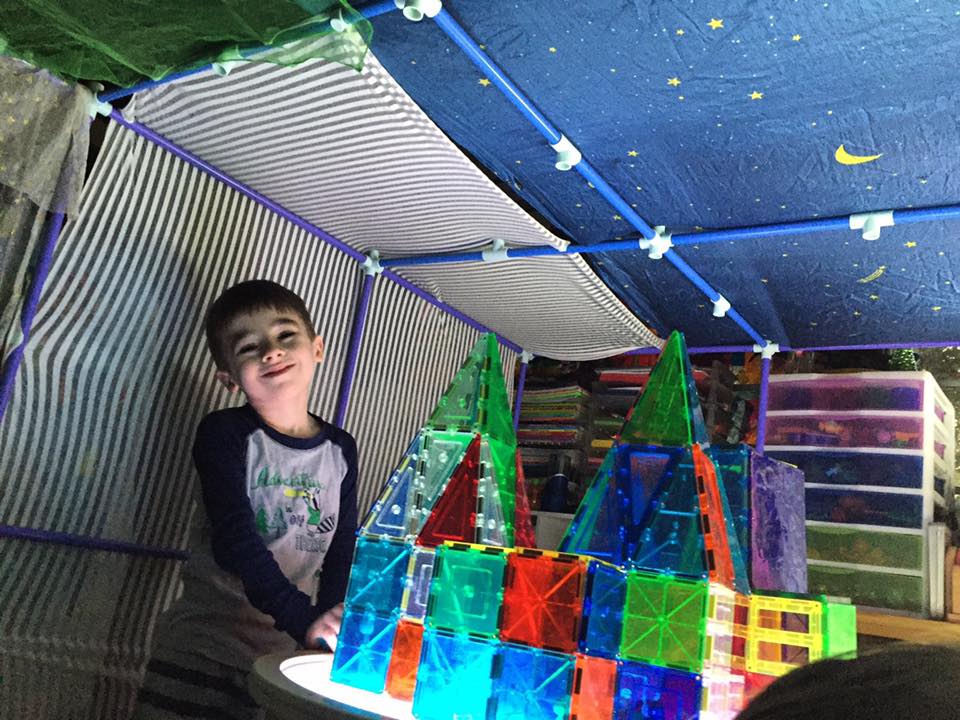
This was a super fun and easy project for the light table! It can be adapted for different age groups too.  Older children could most likely come up with some pretty cool sculpture ideas, younger kids may need a little bit of assistance.

We have a set of 100 invisiball ball pit balls that we use for light table play, and we have been trying to find a way to put more of them to use. Realistically you can't really use 100 ball pit balls on a light table all at the same time.

So we decided to get out the hot glue gun and see if they are able to be glued together, and they are! I was afraid the balls would melt at first, however they do not melt at all!  You just need to get your low temp hot glue gun heated up, and then start gluing! It is best to only glue two balls together at once, then hold them for about 5 seconds until the glue sets.  If you mess up, no worries...once the glue cools, it peels off of the balls easily.

Check out our cool bubble sculptures below! We made a tower, a tunnel bridge, and a wall that has balls in the back to hold it up! So fun!  I think we will try adding some light spangles and sequins to them tomorrow!


other items seen in this blog post....


Tuesday, December 8, 2015

Awesome Light Exploration Accessories from Kodokids.com

  Every day is brighter when you can have a little Kodo magic sprinkled into your day!  https://kodokids.com/ is full of magic. They ha...